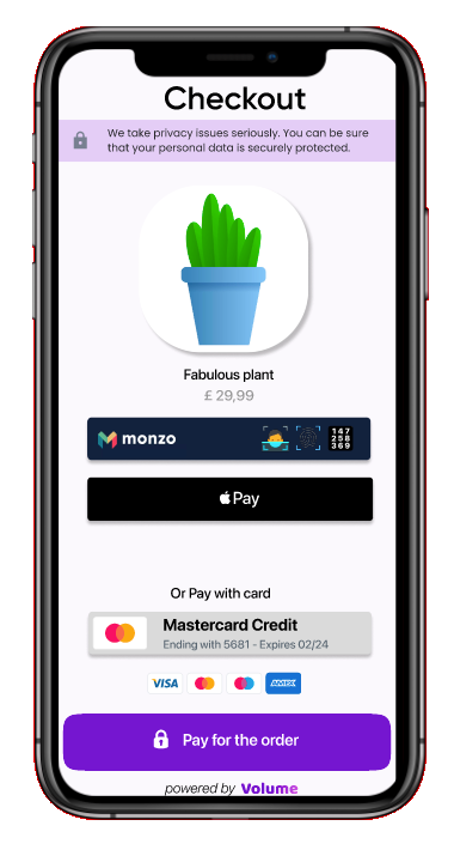
Best-in-class checkout for any type of business offering customized payment method options to your customers that enables you to increase conversion rate and your customers the best payment experience.
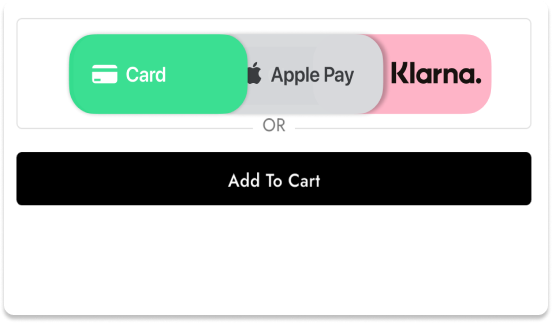
Different people pay in different way, give back the control to your checkout page to your customers
Tailored for your customers so that you don't have to guess the right payment method across the globe
We solve compliance and regulatory overhead, so you can focus on developing your products and growing your business
The quickest way to build the checkout page to accept payment methods from your customers. Our conversion-optimized payment experience works across devices and drive the highest conversion rate in the market.
<style>
#checkout-container {
display: flex;
flex-direction: column;
padding: 12px 24px;
}
</style>
Volume.js is our plug-and-play library for building your checkout experience which enables Internet businesses to collect sensitive data to accept payments from online shoppers. Internet business can accept Visa, MasterCard, American Express, Discover, JCB, Diners Club, SEPA, Sofort, iDeal, Giropay, Alipay, and more directly on your store.
Volume.js tokenise sensitive information and mandatory security steps (i.e., 3D Secure) to simplify the PCI compliance process to the bare minimum.
<!DOCTYPE html>
<!-- checkout.html -->
<html>
<!-- This added styling and css is entirely optional -->
<head>
<style>
#checkout-container {
display: flex;
flex-direction: column;
padding: 12px 24px;
}
</style>
<link rel="stylesheet"
</head>
<body>
<div id="checkout-container"></div>
<!-- Include your script to initialize the SDK and send data to -->
<script src="static/client.js"></script>
</body>
</html>
Accept Visa, MasterCard, American Express, Discover, JCB, Diners Club, SEPA, Sofort, iDeal, Giropay, Alipay, and more directly on your store with the Volume payment gateway for WooCommerce, WordPress, Shopify and other pre-built websites. Enable your customers to pay with Apple Pay, Google Pay, and Microsoft Pay for mobile and desktop.
Automatic installation is the easiest option as WordPress handles the file transfers itself and you don’t need to leave your web browser. To do an automatic install of the WooCommerce Stripe plugin, log in to your WordPress dashboard, navigate to the Plugins menu and click Add New.
In the search field type “WooCommerce Stripe Payment Gateway” and click Search Plugins. Once you’ve found our plugin you can view details about it such as the point release, rating, and description. Most importantly, of course, you can install it by simply clicking “Install Now”, then “Activate”.
<!DOCTYPE html>
<!-- checkout.html -->
<html>
<!-- This added styling and css is entirely optional -->
<head>
<style>
#checkout-container {
display: flex;
flex-direction: column;
padding: 12px 24px;
}
</style>
<link rel="stylesheet"
</head>
<body>
<div id="checkout-container"></div>
<!-- Include your script to initialize the SDK and send data to -->
<script src="static/client.js"></script>
</body>
</html>
Lorem Ipsum is simply dummy text of the printing and typesetting industry. Lorem Ipsum has been the industry’s standard dummy text ever since the 1500s, when an unknown printer took a galley of type and scrambled it to make a type specimen book. It has survived not only five centuries, but also the leap into electronic typesetting, remaining essentially unchanged. It was popularised in the 1960s with the release of Letraset sheets containing Lorem Ipsum passages, and more recently with desktop publishing software like Aldus PageMaker including versions of Lorem Ipsum.
Automatic installation is the easiest option as WordPress handles the file transfers itself and you don’t need to leave your web browser. To do an automatic install of the WooCommerce Stripe plugin, log in to your WordPress dashboard, navigate to the Plugins menu and click Add New.
In the search field type “WooCommerce Stripe Payment Gateway” and click Search Plugins. Once you’ve found our plugin you can view details about it such as the point release, rating, and description. Most importantly, of course, you can install it by simply clicking “Install Now”, then “Activate”.
<!DOCTYPE html>
<!-- checkout.html -->
<html>
<!-- This added styling and css is entirely optional -->
<head>
<style>
#checkout-container {
display: flex;
flex-direction: column;
padding: 12px 24px;
}
</style>
<link rel="stylesheet"
</head>
<body>
<div id="checkout-container"></div>
<!-- Include your script to initialize the SDK and send data to -->
<script src="static/client.js"></script>
</body>
</html>